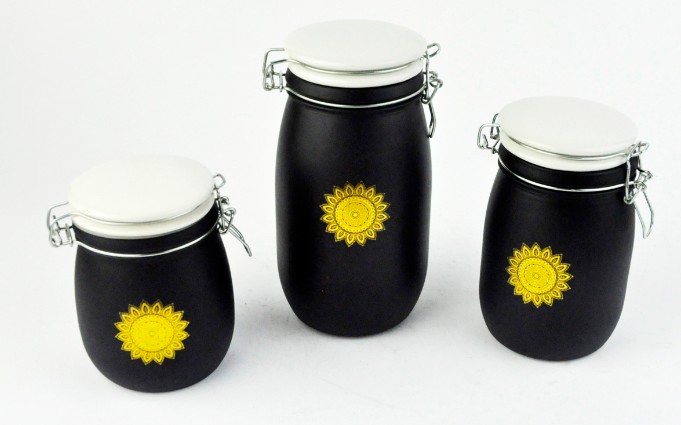
Glass jars, as a common material for home decoration and handicrafts, always bring a fresh and refined visual enjoyment with its transparent or translucent texture. By painting glass jars, you can not only add a unique color to them, but also make ordinary items instantly full of personality. Now, let's learn how to paint glass jars and let your creativity bloom at your fingertips.
Prepare tools and materials
Before you start, make sure you prepare the following necessary tools and materials:
Glass jars: Choose clean, crack-free glass jars as the objects for painting.
Glass paint: There are many glass paints available on the market, including water-based, oil-based, and baking paints designed specifically for glass. Make sure to choose the paint that suits the needs of your project.
Brush: Fine-tipped brushes are used for detailed descriptions, while wide flat brushes are suitable for painting large areas.
Palette (if using water-based or oil-based paint).
Tape or masking film (optional, to protect areas that do not need to be painted).
Oven (if using paint that needs to be baked).
Cleaning cloth and alcohol (for cleaning the glass surface to ensure the coloring effect).
Gloves (to protect hands from paint contamination).
Step 1: Clean the glass jar
First, use a cleaning cloth dipped in a small amount of alcohol to thoroughly wipe the inside and outside surfaces of the glass jar to remove impurities such as dust and grease. This step is crucial because any tiny stains may affect the adhesion of the paint.
Step 2: Design a pattern (optional)
If you plan to draw a specific pattern on the glass jar, you can first lightly outline the glass jar with a pencil. Note that due to the smooth surface of the glass, the pencil line may not be very obvious, but it is enough to serve as a reference for coloring.
Step 3: Coloring
Coloring a small area: Use a fine-tipped brush and start coloring according to the designed pattern or freely. For fine parts, be patient and meticulous to avoid spilling the paint.
Coloring a large area: If you need to color the entire glass jar, you can use a wide flat brush or sponge brush to evenly apply the paint. Be careful to control the thickness of the coating, as too thick a layer may cause the paint to crack or fall off.
Multiple layers of paint: To achieve a richer color effect, wait until the first layer of paint is completely dry before applying the second or more layers. Make sure the previous layer is completely dry before applying each layer.
Step 4: Protect the non-colored area (if necessary)
If you only want to paint a part of the glass jar, you can use tape or masking film to cover the area that does not need to be painted to prevent the paint from smearing.
Step 5: Baking (if using paint that requires baking)
According to the instructions of the selected paint, if the paint needs to be baked to fix, the colored glass jar needs to be placed in a preheated oven and baked at the specified temperature and time. This step is key to ensure that the paint is firmly attached to the glass surface.
Step 6: Cleaning and maintenance
After coloring and baking (if necessary), wait for the glass jar to cool completely. Then, gently remove the tape or masking film (if used). Finally, gently wipe the surface of the glass jar with a clean cloth to remove any remaining paint particles or fingerprints.
Precautions
During the operation, always wear gloves to prevent the paint from coming into direct contact with the skin.
Follow the instructions for the paint, especially the baking temperature and time.
After painting, avoid long-term exposure to strong sunlight or extreme temperature differences to prevent the paint from fading or cracking.
With the above steps, you can easily paint the glass jars and create unique personalized decorations. Whether it is used as a home decoration or as a gift for relatives and friends, such a glass jar can show your unique taste and creativity.